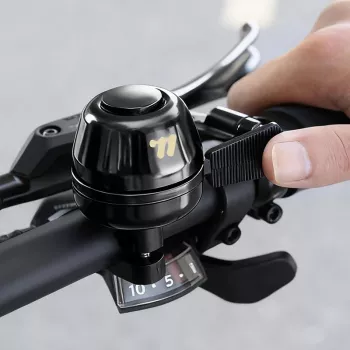
Install a Mini Bike Bell That Won’t Slip or Rotate
How do I install a mini bike bell on a handlebar without the bell slipping or rotating?
Answer
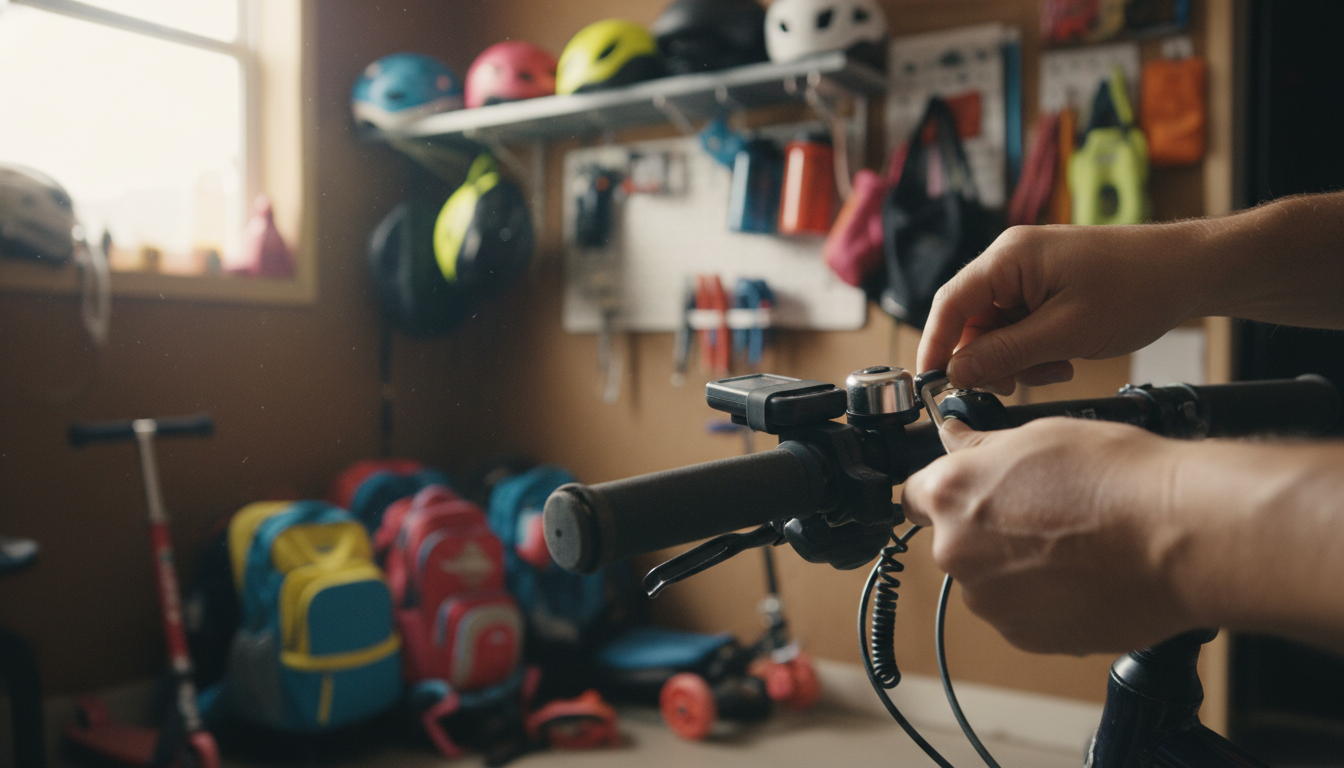
A mini bike bell stays put when the clamp matches your handlebar diameter, the contact surfaces are clean, and the fastener is tightened evenly. Start by choosing the mounting spot (usually near the grip where your thumb can reach it) and measure your bar: many flat bars are 22.2 mm, while some city/cruiser and drop-bar tops are closer to 25.4 mm or 31.8 mm at the center. If your bell includes a shim or rubber pad, use it to fill any gap—this is the number-one fix for rotation.
Before mounting, wipe the handlebar and the inside of the bell clamp with rubbing alcohol to remove sweat, grease, and leftover grip spray. Place the rubber pad/shim on the bar, set the bell so the striker is easy to flick, then seat the clamp squarely (not crooked) so it contacts the bar evenly. Tighten the screw a little at a time while holding the bell in the exact angle you want, checking after each turn that it isn’t walking to one side.
If the bell still slips, add friction rather than overtightening. A thin wrap of electrical tape, a strip cut from an old inner tube, or a dedicated handlebar shim under the clamp increases grip without stressing the hardware. Avoid cranking down so hard that you deform a lightweight bar or strip the screw. After tightening, test by pushing the bell body side-to-side and braking hard while rocking the bike; if it stays aligned, you’re set.
For bell styles that use a small bolt and band, aim for “snug plus a quarter turn,” then re-check after your first ride. Temperature changes and initial settling can loosen a new install, so a quick retighten the next day often prevents future rotation.
For more details on mini bell fit, placement, and durability, see this guide to a vintage copper mini handlebar bell.
FAQ
What can I use if my bike bell didn’t come with a rubber shim?
Cut a small strip of old inner tube, or wrap one to two layers of electrical tape where the clamp sits to add thickness and grip. This boosts friction so the bell won’t rotate without needing excessive torque on the screw.


Leave a comment